Introduction
Foreword
Welcome to the DOSBox Staging Getting Started guide!
This guide will gently introduce you to the wonderful world of DOSBox by setting up a few example games from scratch. Although it’s primarily intended for newcomers unfamiliar with DOSBox and DOS emulation, it’s a recommended read for people already comfortable with other DOSBox variants but not DOSBox Staging. And even if you’re a long-time Staging user, we’re quite certain you will learn a few new useful things and techniques from it.
The guide has been written in the spirit of “teaching a man how to fish”—the games are only vehicles to teach you the basics that you can apply to any DOS game you wish to play later. Consequently, the choice of games doesn’t matter that much (although we tried to pick from the all-time classics).
To get the most out of this guide, don’t just read the instructions, but perform all the steps yourself! Later chapters build on concepts introduced in previous ones, so do not skip a chapter just because you’re not interested in a particular game! You don’t have to play it if you don’t want to; going through the setup procedure and learning how to troubleshoot various issues is what this is all about. All necessary files will be provided, and no familiarity with IBM PCs and the MS-DOS environment is required—everything you need to know will be explained as we go. The only assumption is that you can perform basic everyday computer tasks, such as copying files, unpacking ZIP archives, and editing text files.
The guide has been written so that everyone can follow it with ease, regardless of their operating system of choice. For example, Windows users probably know what the “C drive” is, and most Linux people are comfortable using the command line, but these things need to be explained to the Mac folks.
We wish you a pleasant journey and we hope DOSBox Staging will bring you as much joy as we’re having developing it!
Installing DOSBox Staging
You must use the latest stable version of DOSBox Staging for this guide. If you already have other versions of DOSBox on your computer, installing DOSBox Staging won’t interfere with them at all. Experienced users can use multiple DOSBox variants on the same machine without problems, but if you’re a beginner, we recommend starting with a clean slate to avoid confusing yourself. Make sure you’ve removed all other DOSBox versions from your machine first, then proceed with the DOSBox Staging installation steps.
Windows
Download the latest installer from our Windows releases page, then proceed with the installation. Just accept the default options; don’t change anything.
Make sure to read the section about dealing with Microsoft Defender SmartScreen.
macOS
Download the latest universal binary from our macOS releases page, then simply drag the DOSBox Staging icon into your Applications folder. Both Intel and Apple silicon are supported.
Don’t delete the .dmg installer disk image just yet—we’ll need it later.
Linux
Please check out our Linux releases page and use the option that best suits your situation and needs.
Other stuff we’ll need
As you follow along, you’ll need to create and edit DOSBox configuration files, which are plain text files. While Notepad on Windows or TextEdit on macOS could do the job, it’s preferable to use a better text editor that is more suited to the task.
Windows
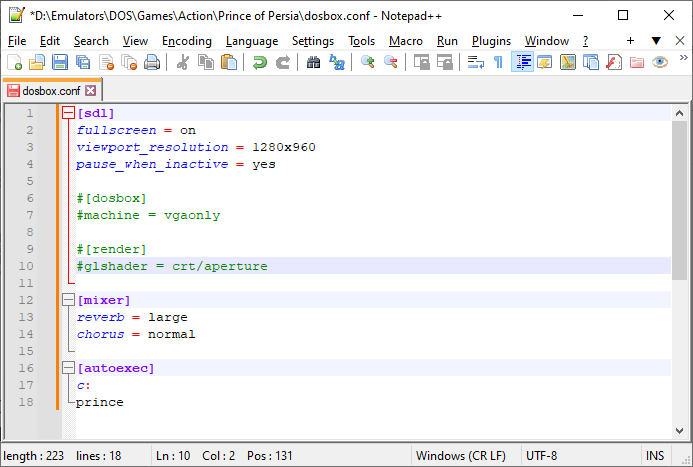
We recommend Windows users install the free and open-source Notepad++ editor.
Accept the default installer options; this will give you a handy Open with Notepad++ right-click context menu entry in Windows Explorer.
macOS
TextMate is a free and open-source text editor for macOS, which is perfect for the job.
Tip
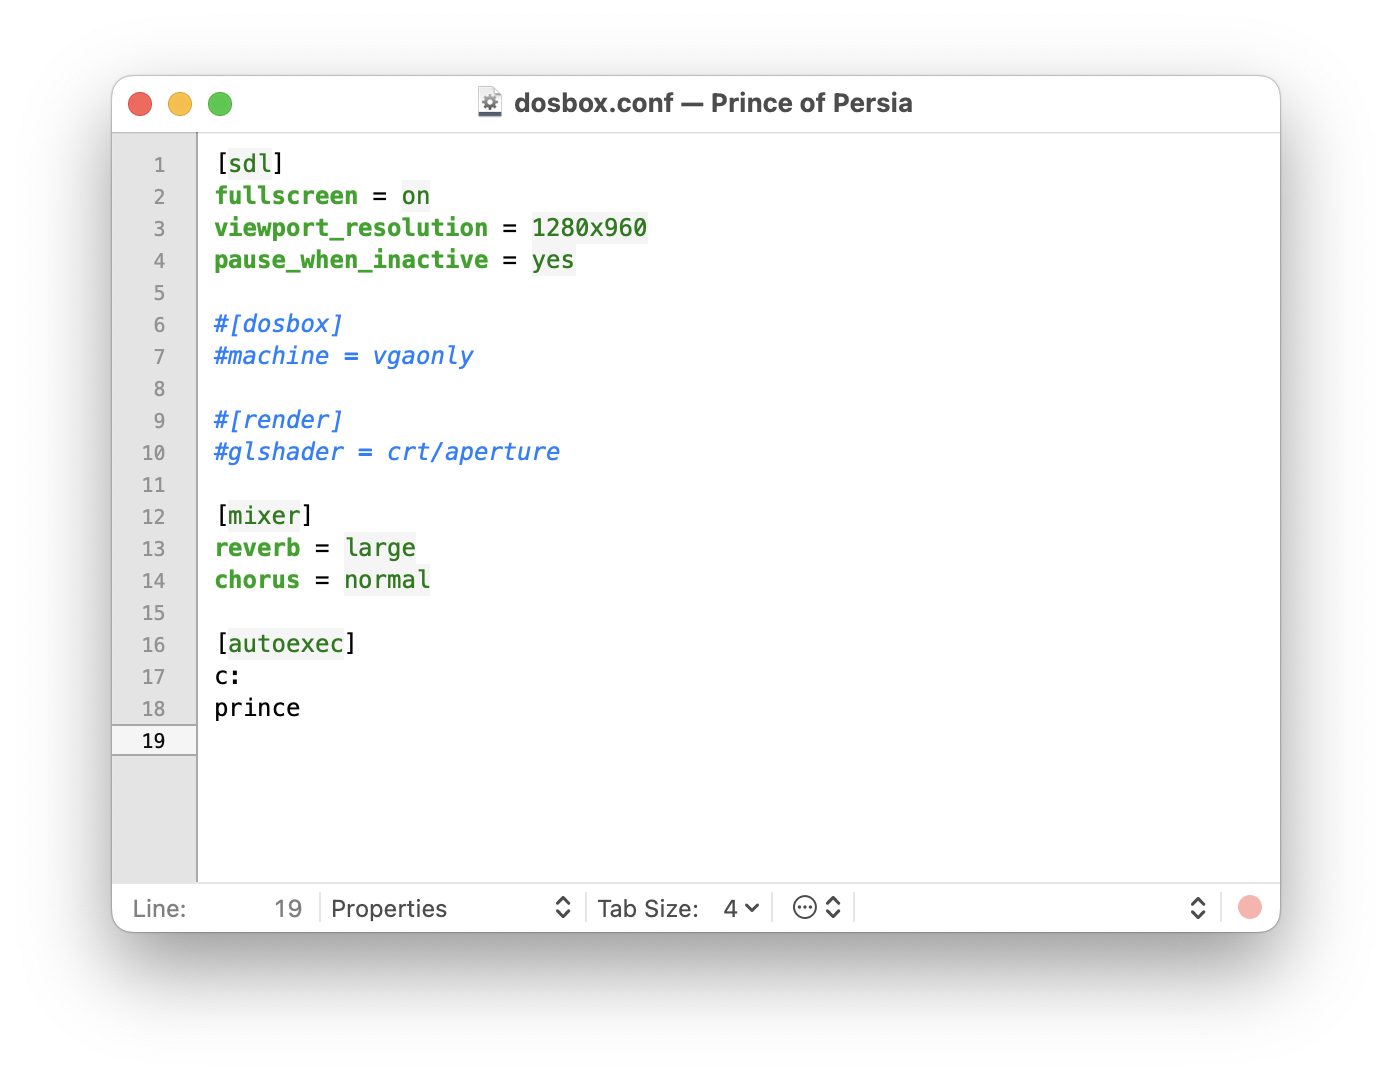
When editing DOSBox configuration files in TextMate, it’s best to set syntax highlighting to the Properties file format as shown in the screenshot below (it’s the combo-box to the left of the Tab Size combo-box in the status bar).
Linux
We’re pretty sure Linux users don’t need any help and have their favourite
text editors at hand already. And, of course, everybody knows Vim is the
best!
A note for existing DOSBox Staging users
If you already have DOSBox Staging installed on your computer, or if you have
used it in the past but have uninstalled it, most likely, you have a primary
configuration file named dosbox-staging.conf somewhere on your drive (this
is sometimes also referred to as the default or global configuration).
The guide assumes the default settings of the latest stable release, so it’s highly recommended to remove any existing primary configuration files first (but make sure to back them up). If the primary config file does not exist in a platform-specific location, DOSBox Staging will create it on the first launch. If it exists, it will be used, but the defaults of some settings might have changed between releases, or you might have tweaked some settings yourself. These differences may render the instructions in the guide invalid as the default settings are assumed.
This is where the primary config is located per platform:
| Windows | C:\Users\%USERNAME%\AppData\Local\DOSBox\dosbox-staging.conf |
| macOS | ~/Library/Preferences/DOSBox/dosbox-staging.conf |
| Linux | ~/.config/dosbox/dosbox-staging.conf |
You can also execute DOSBox Staging with the --printconf option to have the
location of the primary config printed to your console.
To back up your existing primary config, you can simply change the extension
of dosbox-staging.conf from .conf to .bak. DOSBox Staging will write a
brand new primary config containing the current defaults the next time you
start it.
Portable mode notes
If you’ve been using DOSBox Staging in portable mode, dosbox-staging.conf is
located in the same folder as your DOSBox Staging executable. In that case,
it’s recommended to back up your existing primary config, and then create a
new empty dosbox-staging.conf file in the executable folder. DOSBox Staging
will write the new defaults to the empty dosbox-staging.conf file on the
first launch.


